
Have you ever tried soapmaking before? This hobby is a delight for the senses, what with the various fragrances, mica powders, and skin-loving, natural ingredients involved.
It can be a lovely source of aromatherapy and relaxation. It’s also quite practical – after all, who doesn’t have a use for a fancy, homemade soap bar?
Why Make Your Own Soap?
For the Fun of It
First off, making soap is fun! It’s a tactile activity that really engages the attention; enjoy the wafting scents and silky texture as you stir.
It’s also super-satisfying to end up with your own, custom soap bar.
It’s Practical
When it comes to hygiene, soap is obviously a staple. Having a consistent supply of quality soap can do wonders for your skin and encourage your kids to wash their hands – with a soap they proudly made on their own.
The best homemade soap bars, crafted with natural ingredients, can be used in soap dishes as well as in the shower.
For Gift-Giving
While it can be immensely enjoyable, soapmaking takes time and care. As gifts, this can make them all the more meaningful and even sought-after.
You can’t find homemade soap just anywhere, and it’s unlikely to be as well-crafted in stores as it is when it’s lovingly in your home (and people know this).
For Aromatherapy
Arguably the best part of soap-making is the smell. When you make soap at home, it will smell heavenly, and the colorful concoction you’re stirring will look like nothing so much as a magical brew.
In fact, you can use extra pleasant and natural fragrances in your soap in order to indulge in some healthy and relaxing aromatherapy.
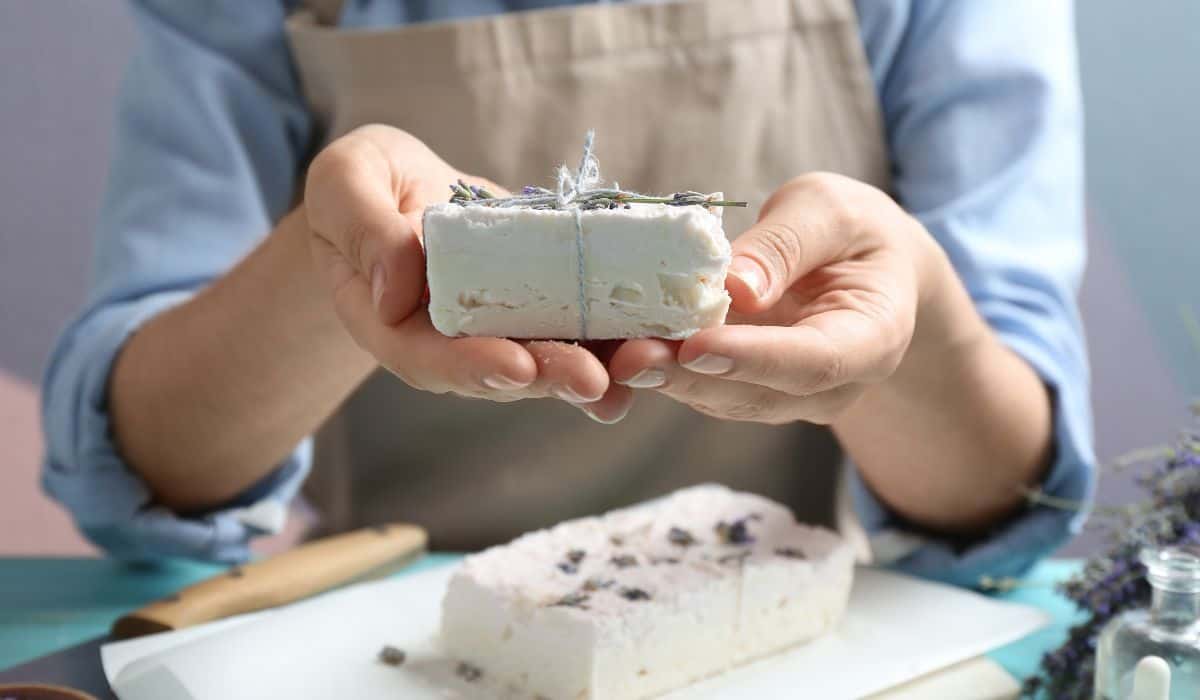
Enjoy the heady scents of wild apples, lavender, oatmeal and honey, fresh-picked rose… whatever suits your fancy.
And of course, enjoy them again each time you use your luxurious soap bar.
As a Family Bonding Activity
It may come as a surprise to you, since kids really don’t seem to be big fans of baths, but kids really seem to enjoy making soap.
The colors and smells can appeal to young ones greatly, as can taking part in what seems to be a very important activity.
After all, they’re making useful, quality soap bars to use themselves (hurray), gift, and show off.
To Sell
Once you’ve made a few practice batches, you may have soap good enough to sell. What’s more, there’s a definite market for homemade soap. You’ve just got to stand out, both in quality, and creativity.
Think of some unique, intriguing soap names, looks, and fragrances, or attempt some cool twists on classics (mint-and-chocolate scented ‘asphalt pie,’ rather than just your basic ‘peach pie,’ for example).
The best place to sell soap is online, through platforms that support local shops, like Esty or eBay!
What Kinds of Soapmaking Are There?
There are two primary types of soapmaking: soap that’s made from scratch, and melt-and-pour soap.
Both types can be of much higher quality than what you’d buy at the store since you can ensure the ingredients and fragrances are always gentle and skin friendly.
Some even go as far as to include some truly high-end ingredients, such as goat milk!
What Ingredients Do You Need to Get Started?
That depends, are you making soap from scratch, or opting for melt-and-pour?
Soap Made from Scratch
Soap Molds
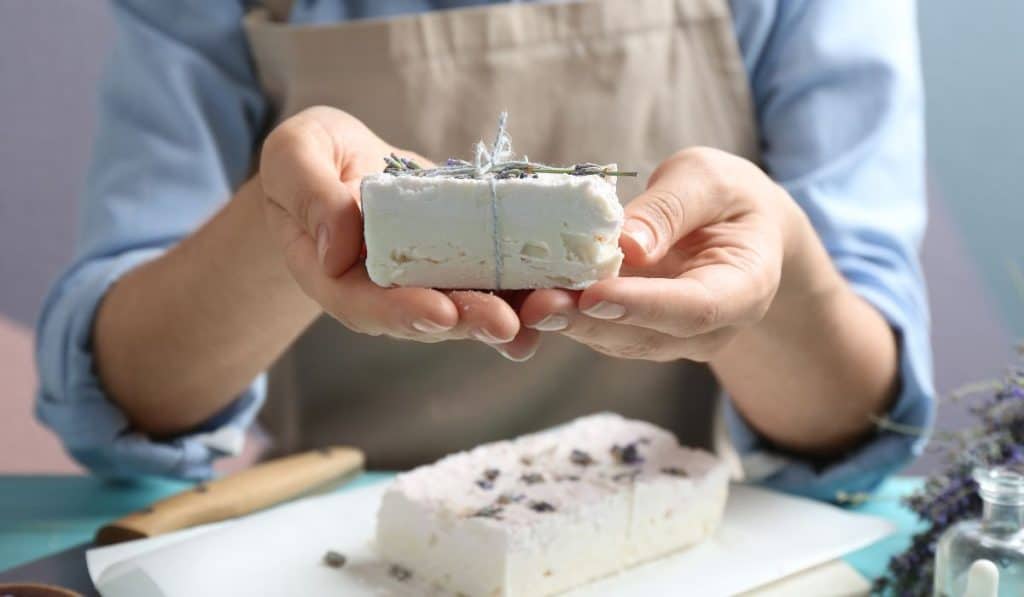
If you’re a beginner at soapmaking, you’ll probably want to start with a 1 to 2-foot long, horizontal soap mold. You can cut soap bars out individually from this ‘soap loaf.’
There are also leaf-shaped molds, animals, circle-shapes, heart-shapes… you name, and you can probably find a soap mold for it somewhere. This gives you room for endless creativity!
Natural Moisturizers
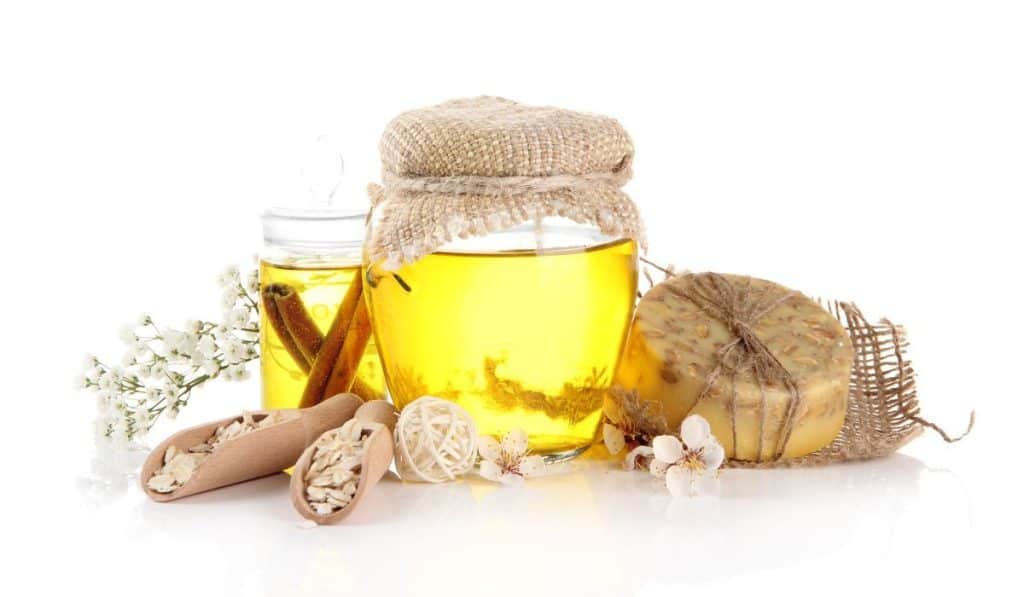
From scratch, soap should be largely made up of ultra-skin-nourishing moisturizers, including shea butter, humanely sourced palm oil, almond oil, avocado oil, and beeswax.
Shea butter is rich in fatty acids and has anti-inflammatory properties to soothe the skin. Almond oil is not only moisturizing but also antibacterial. Beeswax will hydrate the skin by acting as a natural humectant, which means it literally attracts water to your skin, as well as by creating a protective layer.
When you use soap made from ingredients like this, you’ll be infusing your skin with moisture and nutrients, even as the soap cleanses germs and grime away!
Lye
You will need to use great caution with this ingredient. Lye is extremely toxic and acts as an acid on some surfaces, including the skin. Because it eats into things, it is also exceedingly hard to clean off.
When using lye, you will need to wear gloves and a mask, and a heat-proof container, and a heat-proof spoon or whisk with which to stir.
Since lye is almost always used in soap made from scratch, the finished bars will need a couple of weeks to cure.
Then, they’re perfectly safe to use even on sensitive areas like the face – yet they will get rid of harmful bacteria like no other.
Fragrances
A fragrance can make or break a soap bar. An unpleasant and abrasive scent is hardly appealing, is it?
The best soap makers pick their fragrances with care, with attention to the season, whether or not holidays are coming up, the rating and reviews of potential scents, natural and quality ingredients, that sort of thing.
You should also know that fragrances containing certain ingredients can affect your soap’s texture and color. For example, fragrances containing vanilla may turn white soap tan or brown and cause it to thicken faster.
Colors
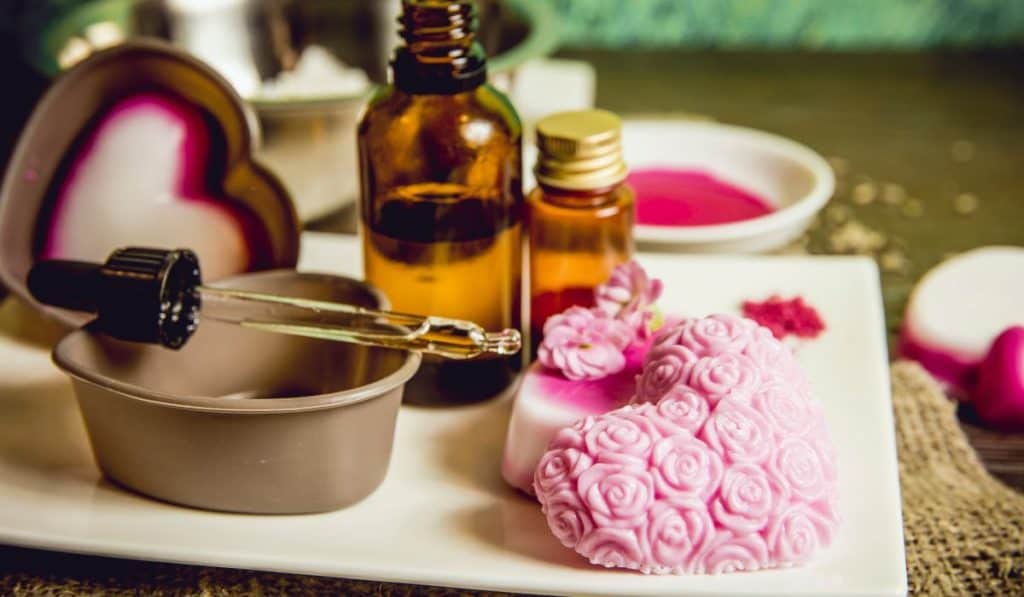
You can color your soap with a variety of mediums, but the best are powder pigments or mica powder. These are nice and fine and will mix with a smooth and even color.
There are pigments and powders in just about every shade of the rainbow, and mica powders shimmer!
Toppings and Decor
Once your soap has been poured into molds, you can quickly pop on some fun toppings and decorations before it begins to harden. Some common toppings are cinnamon-stick straws, oatmeal, leftover soap drizzled like frosting, cherries made of soap, and dried lavender.
Melt-and-Pour Method
Fragrances
Some melt-and-pour kits come with fragrances of their own. You’ll want to double-check that these are gentle on the skin. Or simply opt to buy some separate, top-quality fragrances yourself. With melt-and-pour soap, the fragrance ingredients won’t typically affect the texture or color.
A Melt-and-Pour Soap Block
You can find a melt-and-pour soap block at your local craft store or online. These usually come odorless and clear.
Soap Molds
Every soap bar is formed in a mold. The most practical mold is long and horizontal, about ½ a foot to 1 foot in length. This will allow you to slice out soap bars from a soap loaf.
There are also singular molds of every shape and form imaginable, including classic shapes, natural forms, and designs that are quite fanciful (unicorns, fairies, cherubs, you name it).
Colors
You can match your soap’s fragrance and color. A pumpkin orange or rustic brown for a pumpkin spice fragrance, or a pink and green swirl for apple blossom, for example.
A Melt-and-Pour Soap Kit
Many craft stores and online sites also offer melt-and-pour soap kits, with many of the ingredients included for you, like fragrances, molds, pigments, etc. With a kit, soapmaking couldn’t be more affordable, or easier.
How do You Make Cold-Pressed Soap?
10 Steps to Making Your Own Soap
- First, get your supplies together. You will need gloves, protective goggles, several small, durable, heat-proof bowls for various, separate colors; one large, durable, heat-proof bowl for your base color, some heat-proof utensils with which to stir; and a crockpot or slow cooker.
- Get the natural moisturizers melting. Before you proceed with the rest of the process, you’ll want to start your natural moisturizers melting on low heat in your crockpot or slow cooker. This can take some time, and the mixture will need not only to melt fully but also to – at least somewhat – cool off.
- Start the lye. Once your natural moisturizers are melting nicely, you can bring out the lye. When working with this harsh chemical, it’s best to have the proper protective gear. It’s advisable to wear gloves and goggles, and you will want to lean well away from the fumes and avoid breathing them in as you add water and stir.
- Choose your fragrances and colors. This is one of the most enjoyable parts of soapmaking. Select your favored fragrances and colors and use them to design your own soap bar. There are lots of wonderful options, like pumpkin spice, cherry blossom, ginger ale, cedar, citrus, and lavender. The soaps can be colored with opaque, chalky pigments, or even sparkly mica powder. Portions of the soap can be set aside specially to color and mix in separately. Add them and give them an artful swirl.
- Once the lye has cooled, and the moisturizers are melted but cooler, mix the two together. This is your soap base. All that’s left at this point is coloring it, pouring it into molds, and any decor.
- Color. Before you add your fragrance, you will want to make sure that you are satisfied with the color. This is when you will have the most time to create swirls and dots, and add oatmeal, rose petals, ground cinnamon, and other details. Once the fragrance is added, the mixture will often begin to cool more quickly, so you’ll want to hold off until you’re ready.
- Add your fragrance. Remember that some fragrances contain vanilla or other colored scents that can turn soap bases tan, cream, and even brown. This can affect your ultimate soap color, especially if you were hoping for white bars, or light pink. When adding the fragrance, also err on the side of too much rather than too little – the fragrance will generally die down considerably as the soap cools off.
- Pour. Pour the soap in the molds while it’s still liquid, so it will fill in the mold properly. It’s good to be aware that as soon as you add your fragrance the mixture will begin to thicken faster. It will likely shortly be time to pour.
- Decorations. Now is the time for decorations! While the soap is still soft, feel free to top the bars with things like little soap cherries (just make some red soap in ball-shaped molds), beeswax-shaped soap, little soap curls, sprinkles, cocoa beans, or oatmeal. By this point, you will have a truly decadent-looking soap bar.
- Set your soaps aside to cure. It takes roughly 4-6 weeks for completely homemade soap to cure, so set the soap aside somewhere dry and cool. To avoid dust, cover the soaps lightly with a hand towel or wax paper.
After patiently waiting for your soap to cure, you can finally place it proudly in your soap dishes and shower.
Enjoy a soft, creamy, skin-loving soap, give it away as heartfelt gifts, or sell the custom soap bars you are the proudest of.
What Are Some Ideas for a Beginner?
- Holiday soaps. Soaps can make truly excellent gifts around the holidays, and it can be fun to make them around a seasonal theme. For example, pumpkin or ginger ale scents for Halloween, cedar or chocolate scents for around Christmas, Hanukkah, and so on.
- Birthday soaps. If you know someone who would enjoy homemade soap, and their birthday is coming up, you may have a great soap design and gift opportunity. Celebrate the occasion with birthday sprinkle cupcake soap bars, rainbow ‘ice cream cake’ soap bars, sundae-style soap bars, etc.
- Soap that looks like food. It’s lots of fun to make soaps that look like apple or peach pie, ice cream, cupcakes, cake, and so on… match each of these with a fragrance that’s the same or similar.
- Swirl soaps. This is perhaps the easiest soap design for a beginner. Simply leave most of your soap white or cream, and color it with drops of pigmented soap. To create an abstract, fluid design, give the color a gentle swirl (but don’t stir much at all, or the color will simply mix in completely).
Final Thoughts
So, what do you think? Are you a fan of fragrant scents and beautiful colors and decorations, not to mention healthier skin?
Perhaps soapmaking is the hobby for you, and you’d enjoy having homemade soap bars to use, gift, and sell.
All that you need to get started are a few key supplies, some enthusiasm, some inspiration, and a bit of know-how!