You can put your ham radio antenna in the attic for transmission and reception of ham signals. Installing an antenna in the attic will work just in most cases with minimal attenuation and signal loss but this may not always be a solution depending on the building materials.
Attic antenna installation comes as an option for most people mainly to circumvent HOA restrictions and for aesthetics.
However, when doing this you can expect up to about 40% attenuation of the signals but with a proper installation, you can reduce this to up to 10%. There are also attic space limitations that can come in the way but you can always get around this.

So, what are some of the pros and cons of installing a ham radio antenna in the attic?
Pros and cons of putting an antenna in the attic
Pros:
1.To get around HOA restrictions
Most Home Owners’ Associations put restrictions on outdoor antenna installation as they see it as an eyesore that may lower property costs or due to fears that the antenna may cause interference of signals used in their homes such as TV and radio signals.
Some of them go as far as completely banning the use of any outdoor antennas although that right is protected by the FCC.
If this is the case for you, putting your ham antenna in the attic may be a great option since it will be out of sight and hence out of mind.
2. To protect the antenna from the elements
Outdoor antennas are highly susceptible to damage or interference that may be caused by elements such as snow and rainfall.
This is because they may cause the antenna to wear out after time, may dislodge it, may sway due to strong winds, and moisture may accumulate in the ends where the feedline gets into contact with the antenna lowering performance.
3. It is safer to install and easier to access your antenna in the attic
Accessing the attic is easy for most people since you do not have to go through the hassle of climbing long ladders which may cause accidents, especially if you are inexperienced.
It is also easier to access the antenna in the attic in case you are planning to do any repairs or upgrades.

Cons:
1.Limited space
Space limitation is the biggest hurdle to installing a ham antenna in the attic.
You will be dependent on how high the roof peak is for the installation which may not be high enough for some operators.
And as you know, antenna height is essential for optimizing performance.
2.Interference
Interference can be caused by many things ranging from electrical wiring to fluorescent light bulbs lowering the quality of the signal you transmit or receive.
This is especially true to most attics where most wiring and cabling is run through to other rooms in the house and so on.
3.It May not be possible
It may not always be possible to have your antenna in the attic due to the building materials that were used during installation.
Some materials may completely block RF radiation while others may block or attenuate most of the signals to a non-useable level rendering the antenna mostly useless.
These materials include metallic surfaces such as aluminum foils that are used for insulation purposes, steel, and so on.
Higher frequency bands are more susceptible to attenuation and signal blockage due to their lower wavelengths.
Tips for installing your ham antenna in the attic
1. Choose the right antenna
Dipole antennas are great for attic installation and if this is the way you choose to go, you should probably purchase a great dipole antenna.
There are different designs that you can choose from depending on how your attic is.
See some suitable antenna on Amazon
No products found.
2. Keep the antenna away from interference
Do not place your ham antenna next to electrical wiring or any other cable run that can cause interference of your signals.
The antenna should also not be close to a fluorescent light bulb as this is another major source of interference.

3. Ensure nothing gets into the way of the antenna signals
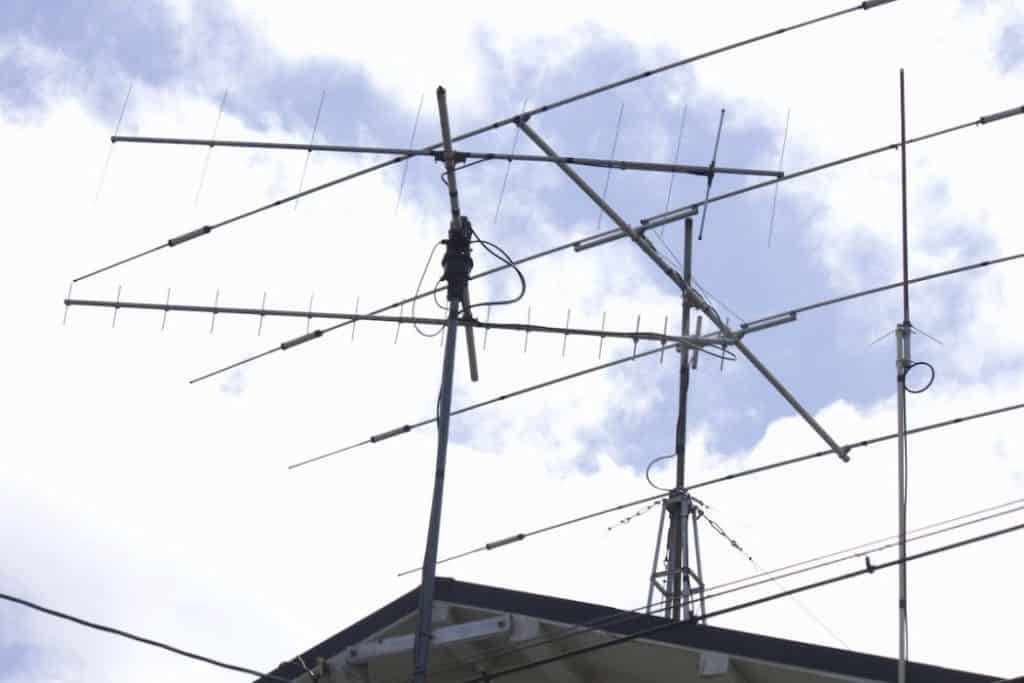
If you are to install your antenna in the attic, you should make sure that nothing gets into the signal path as this may attenuate or block the signals, especially if you are using a highly directional antenna such as a Yagi.
4. Cut the antenna to the right length
For the best possible performance, you will need to cut the antenna the right length to achieve the highest possible SWR.
You will need an antenna analyzer to do this which you can borrow from a friend or hire for testing purposes to ensure that you have the right antenna length.
5. Use a cable with a low loss
You should choose a cable with a low loss since some of the signals are going to be attenuated by the walls and roofing materials.
- 【Cable Type & Details】- PL259 UHF Male to UHF Male coaxial cable ▏Cable type: RG58 Coax ▏Cable length: 49.2 feet (15 meters) ▏Inner Conductor Material: bare copper ▏ Impedance: 50 ohm, ensuring low-loss signal transmission.
- ⭐【Heat shrink tube lengthened to 6 cm】- Compared with other UHF cable, our upgraded tube has been lengthened to 6cm, both ends are heat shrinkable and firmly connected, which make the UHF male pl259 connectors of the patch cable firmer and effectively, preventing the connectors from detaching due to bending or pulling.
- 【High-Quality Low Loss Cable】- About 50ft pl-259 coax cable is constructed with bare copper inner conductor, braid and aluminum foil outer conductor,PE insulation, PVC sheath. The braided shield provides maximum signal protection, ensuring minimal interference when connecting your devices, it is a good choice for rf application.
Keeping the signal loss should be a top priority for you so remember to check the specifications suitable for you depending on how long the feedline is going to be.
Final Thoughts
To learn more about the basics of ham radio you can visit our definitive guide to this interesting guide. Alternatively, you can also check out our article where we talk about how ham radio works and even how high your amateur radio antenna should be.


